Billy Bunker
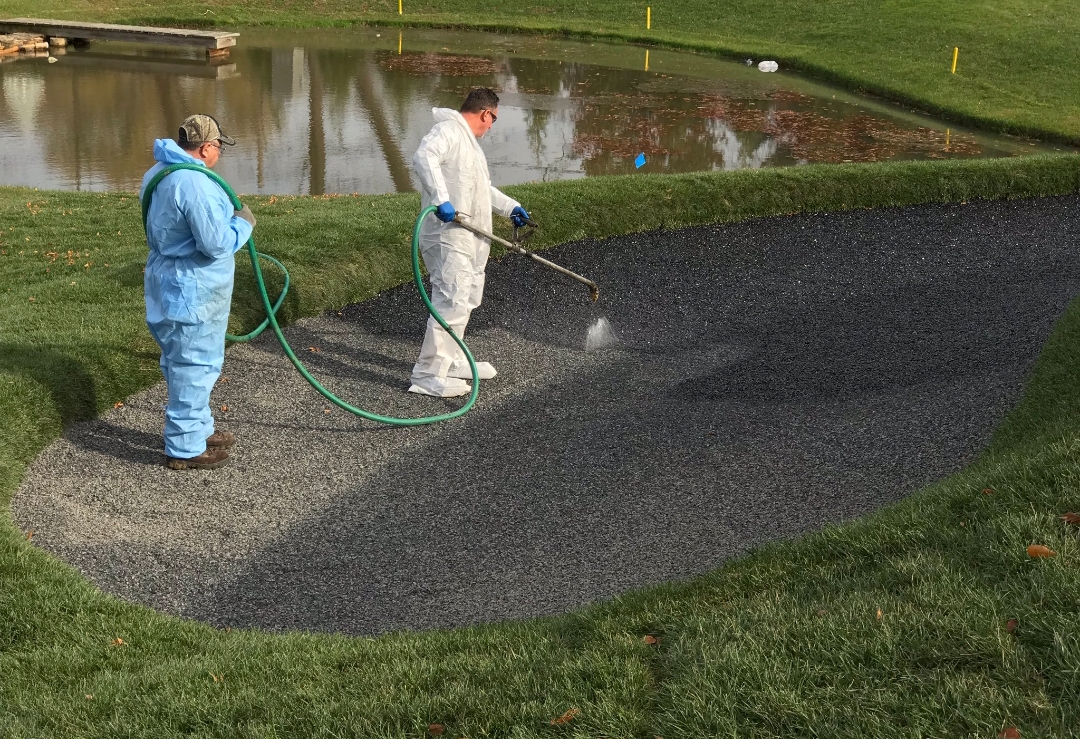
Liners have always been the greatest challenge for Billy Bunkers, often being snagged by rakes and golf clubs, becoming exposed on edges and viewed aesthetically unpleasing. The binder allows water to pass through the stone at more than 1500” + inches per hour. After much study and testing, the Better Billy Bunker Method is a patented method and has been tested on hundreds of courses throughout the world. While these courses are located in varying climate conditions, one factor remains the same; excellent playing bunkers.
The 5 Steps to the Better Billy Bunker Method:
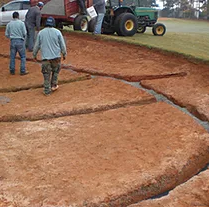
1. Remove old sand and inspect drain lines
Excavate 6″ profile to allow for the 2″ gravel layer and 4″ of sand. If plans call for an exposed thatch edge, calculate this depth in for further excavation. The floor should be smooth and compacted. Drain tile can be reused if it is still functional.
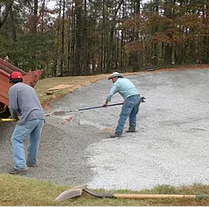
2. Install 2″ layer of local gravel
A layer of approved gravel that is 3/16”-1/4” in size (4.5mm-6mm) shall be placed over the entire floor of the bunker 2″ (50mm) deep. This gravel should be brought up to the edge of the bunker. The gravel may be deeper than 2″ to shape the bunker’s floor.
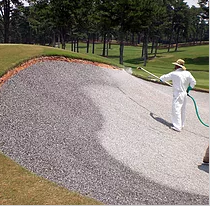
3. ST410 Polymer is installed by a certified installer
ST410 POLYMER shall be sprayed by a certified and trained installer. The treated bunker shall be allowed to cure for approximately 24 hours prior to quality control. A sturdy pliable layer of glued gravel will be the result.

4. Polymer is cured for 24 hours and quality controlled
Every square foot of the bunker will be quality controlled to ensure that a proper application took place. After QC, sand may be installed immediately.
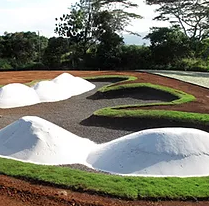
5. Sand installation
The tested and approved bunker sand is installed in the bunker and compacted at least four inches deep. Bunker sand should be examined for the proper particle size, color, drainage characteristics, angularity, angle of repose and ability to bridge with the drainage stone.

Final Product
The end result is a great playing bunker no matter the weather conditions.